IMPORTANT
- DO NOT UNDER ANY CIRCUMSTANCES USE THE MINI TOUCH SCREEN ON THE WALL to the right of the Big Screen - you will disrupt the communications & controls between the screen and its server. All the controls you need are on the Big Screen.
- After your tour has finished, please reset the screen back to its screensaver (instructions below). This is to bring the media content back to its 'start' state ready for the next group, and also prevents them from seeing immediately into the Data Centre upon entry to the room.
- The screen has been known to 'freeze' while giving a presentation. If this happens, or you encounter any other issues with the DCVP, please report the problem IMMEDIATELY to the Service Desk by calling 77777 or by emailing service-desk@cern.ch
Under no circumstances should the screen be left abandoned without alerting Service Desk, otherwise it causes problems for the following tour groups.
The Big Screen
There are two walls of special 'Priva-lite' glass - the main wall where content is projected, and a side wall (to the left) which does not take any content.
The Privalite glass has two states; opaque for projecting presentations, and transparent for viewing the Data Centre. More information on how the glass works can be found in the Priva-lite brochure.
The main screen is touch-sensitive, using an infra-red grid over the glass.
How to use your hand...
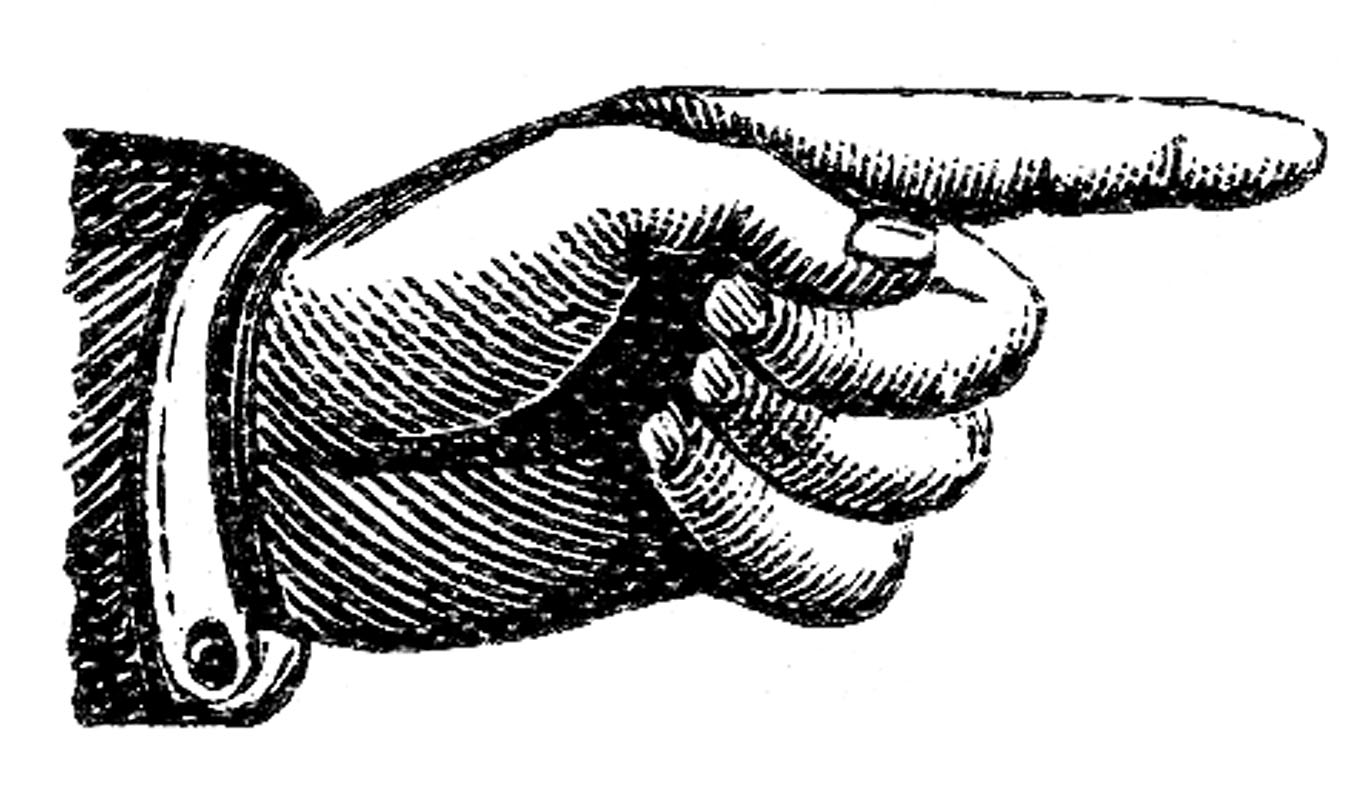 The screen is very sensitive, so if it doesn't respond or seems to get confused, ensure you are using a single finger to drag and select.
Keep the rest of the hand well-raised away from the screen to avoid triggering a false contact, like the image on the left shows. Pressing harder doesn't make any difference!
Wake-up the screen
By default, when you enter the VisitPoint, the screen will display a screensaver of the blue collision around the CERN logo. This screensaver will play after 7 minutes of inactivity (ie no presentation or touch) on the screen.
To access content, tap any part of the screen. This will wake-up the navigation.
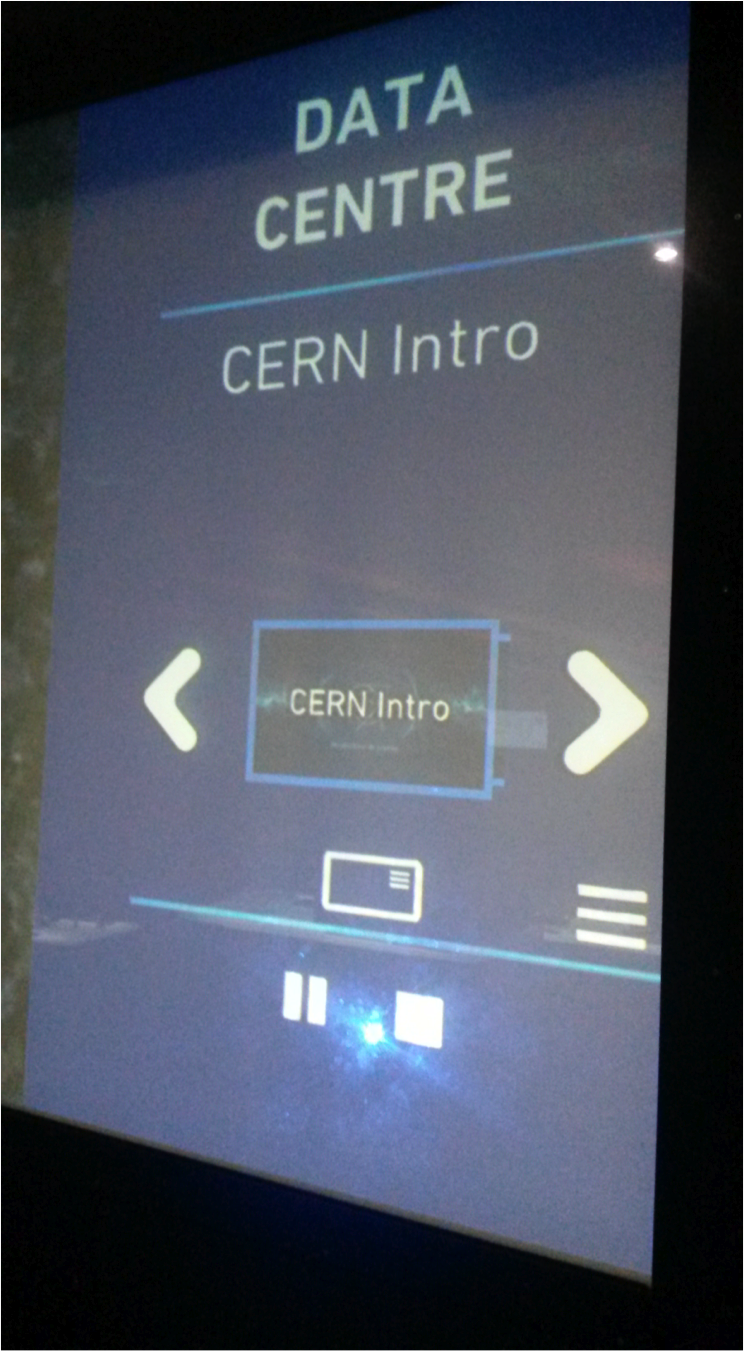
Navigation
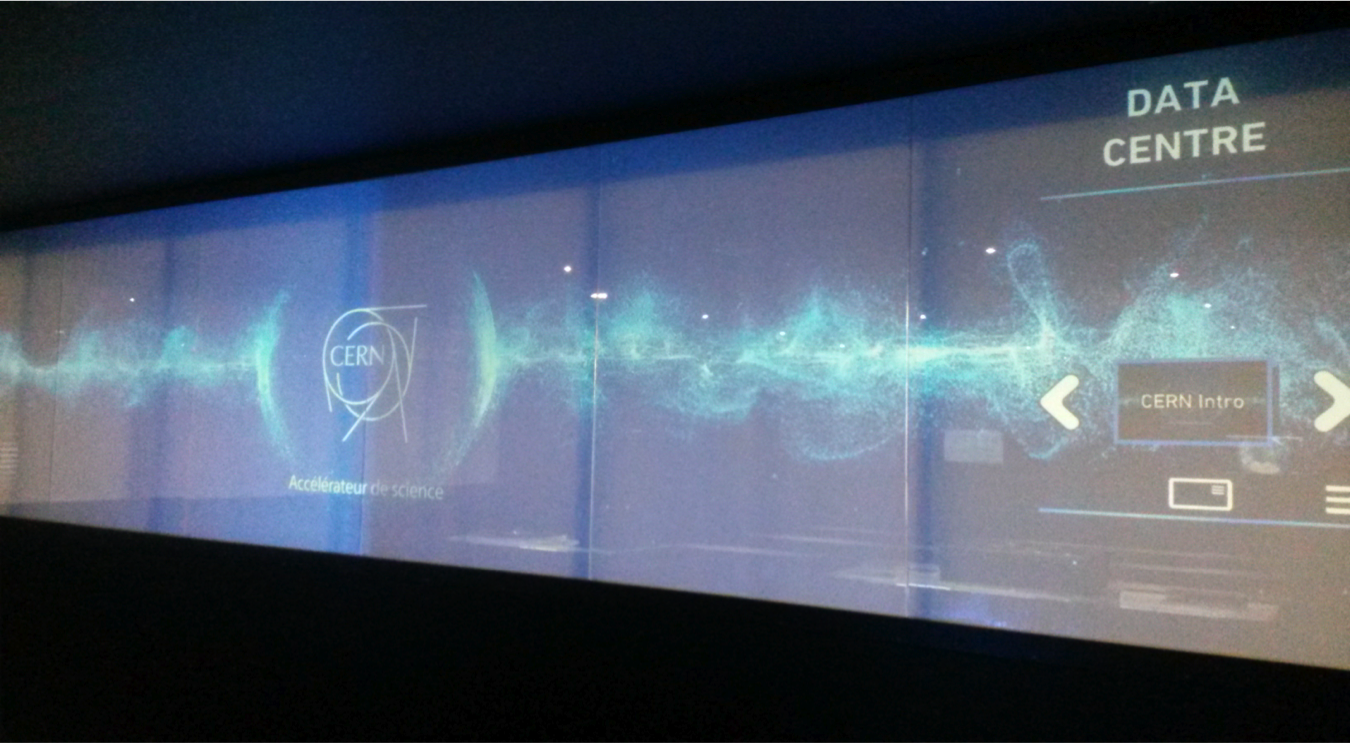
The screen is divided into 2 main control areas:
- Main: displays the content. Most content displays a scroll bar which you can use to fast-forward or rewind.
- Right: contains:
- the navigation and sub-navigation for the content chapers.
- The screen transparent/opaque switch
- '3-bars' menu to access the channel for 'my PowerPoint presentation', and room light controls
Main: content
Most content has a scroll-bar so you can jump to different places within the animation.
The Virtual Visit displays 3-D plans that you can rotate and browse by touch/drag on the main screen.
Right: content navigation
 Content is divided into Chapters, and Scenes (which collectively make up a chapter).
Big arrows < and > scroll through chapters
Block arrows ⇐ and ⇒ scroll through scenes in an individual chapter.
Standard icons for Pause and Play are used for all scenes.
Screen switch Transparent/Opaque
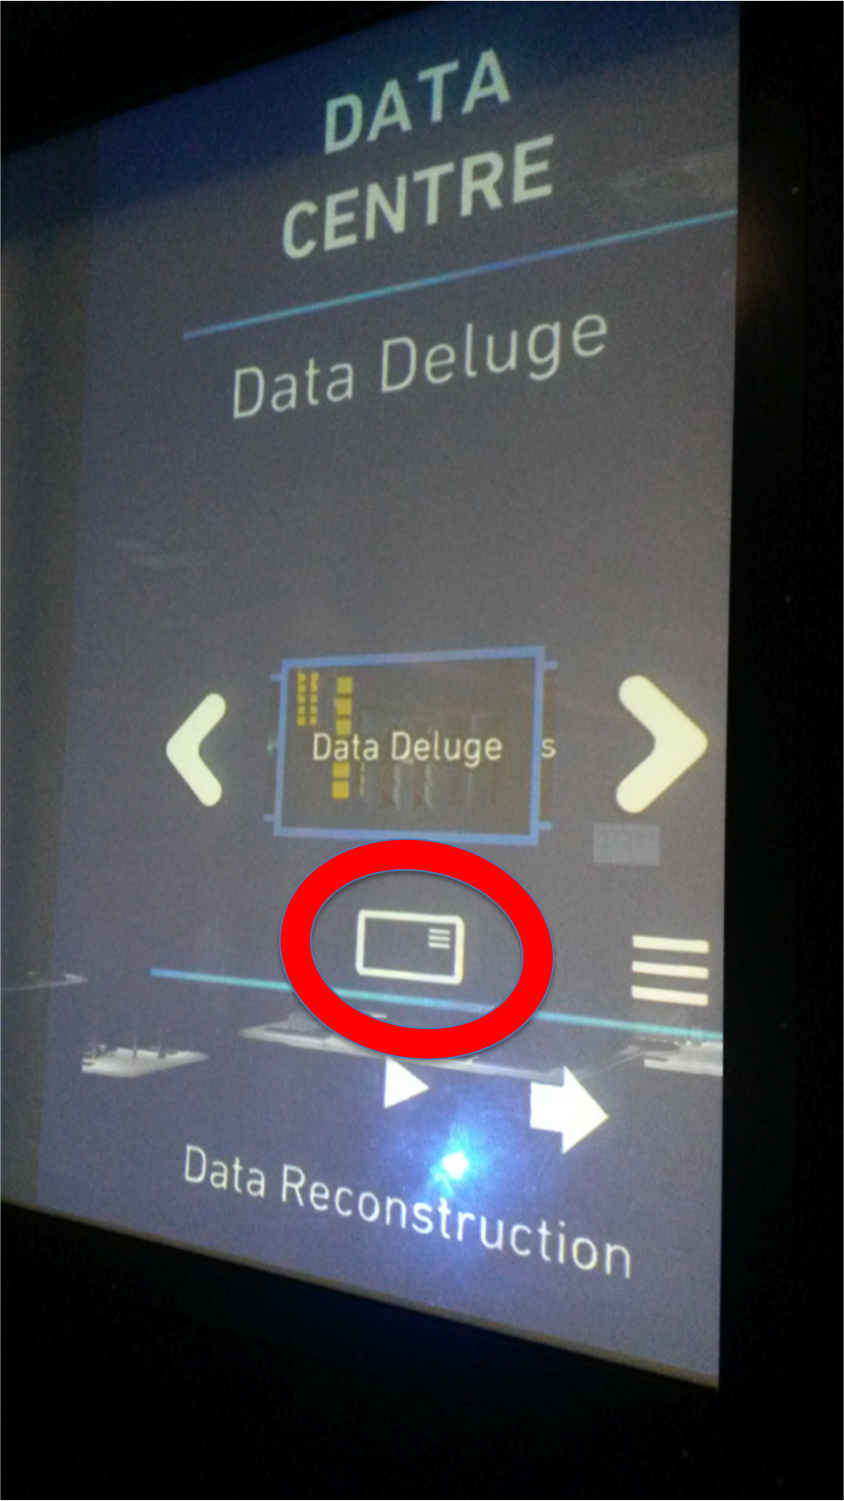
At any point of your tour (but preferably right at the end to keep the surprise element!) you can switch the glass screens to transparent.
The toggle switch is the screen icon below the main menu.
Touching it will switch the screen to transparent.
Touching it again will switch the screen back to opaque.
'3-bar' menu for External Input, Room lights controls
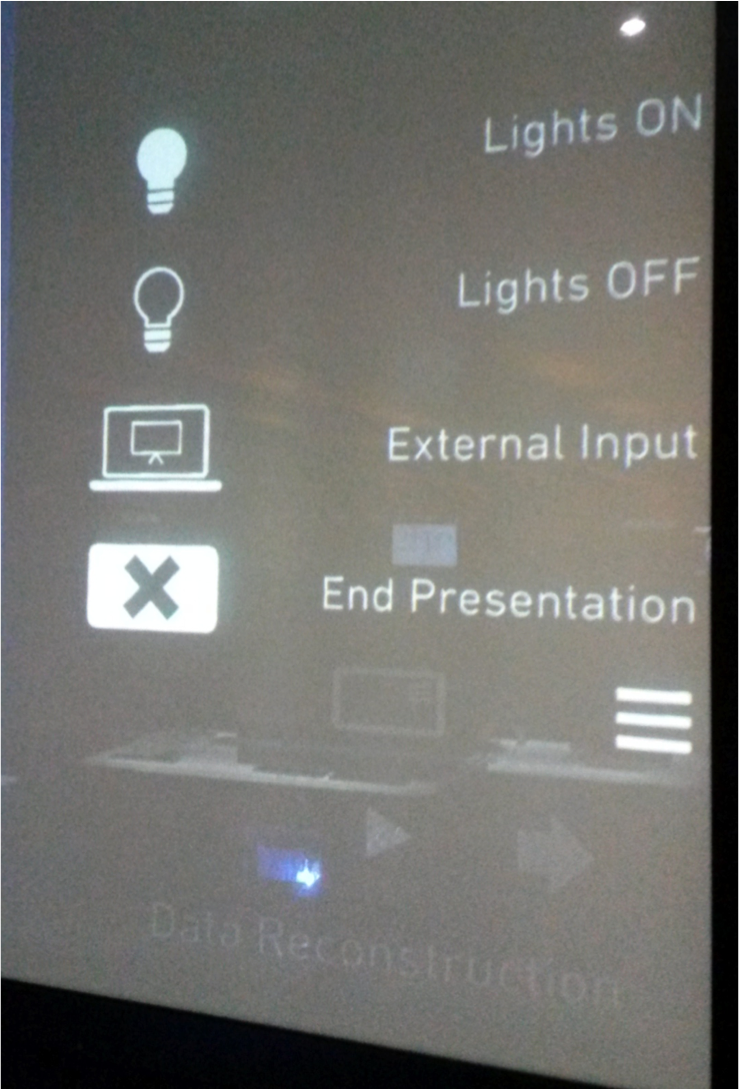
Lights ON: turns on the seating and objects overhead lighting.
Lights OFF: turns off the seating and objects overhead lighting.
External Input: To play your own presentation using your computer. See below for further instructions.
End presentation: quit menu+presentation and return to default screensaver ("blue splash")
How to play your own Powerpoint presentation using 'External Input"
- First, plug the screen cable into your computer (cables and adapters in the left-hand projector cabinet (if looking towards audience))
- Touch the "3-bars" menu on the screen
- Select "External Input", and your presentation will appear immediately on the main screen. Navigate through your slides using your computer.
While in Presentation/External Input mode, a set of control icons will appear bottom right: Arrows (="refresh)", Cog (= "configuration options") and X (= exit External Input).
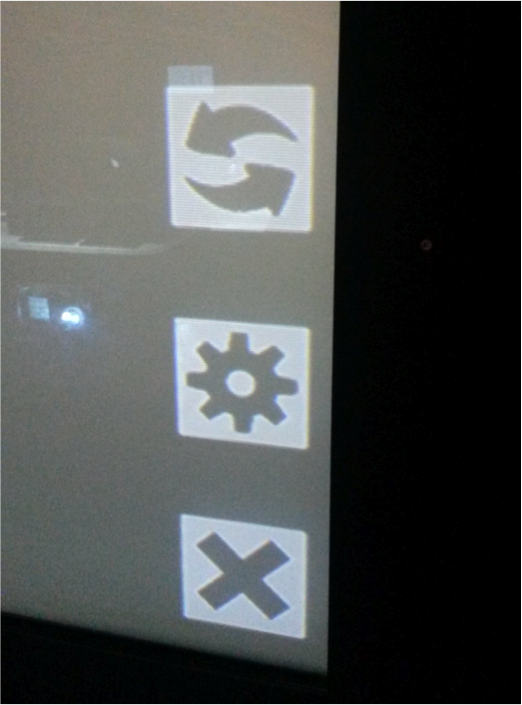 Refresh arrows: touch if the resolution seems fuzzy
Cog icon: you do not need to use this
"X" icon: exit you from the Presentation/External Input.
Reset screen to screensaver
At the end of your tour, or if you need to reset for some reason, you can reset all back to display the "blue splash" screensaver. To do this:
- Open the 3-bars menu
- Hit 'end presentation'
.... and everything will reset.